Episode 5 companion
Wired Printer Enrollment, Cables and All
A Zebra printer, three cables, a provisioning file, and the thing my daughter wanted me to print. Wired enrollment is not glamorous, but it is honest hardware.
At a glance
The short answer
For wired enrollment, connect a supported printer to power, Ethernet, and the setup computer; load the Workspace ONE enrollment file with the supported utility; then verify that the printer appears in the intended Organization Group. Check current guidance for exact utilities, fields, and supported models.
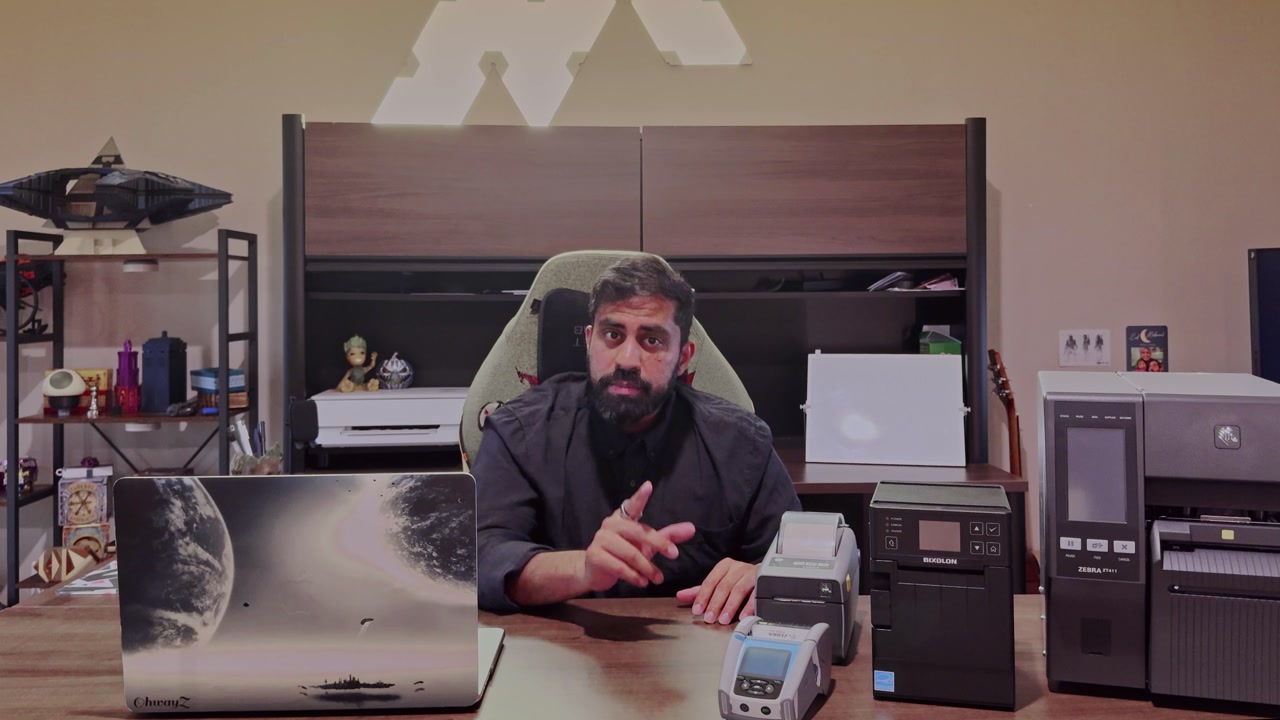
Episode 5 starts beside my router. It also includes something my daughter asked me to print, which is much more fun than the Zebra ZD411 sitting next to it.
The router is there for a reason. Before we open a wizard or say MQTT even once, the printer needs three very ordinary things:
- Power. This printer is not going to negotiate with a missing power cord.
- A network path. That can be Ethernet or Wi-Fi that has already been configured, depending on the exact printer hardware.
- A direct USB connection to a Windows computer. For the wired workflow shown, that is how Zebra's setup utility delivers the provisioning file.
Nothing clever here. Power wakes it up. Ethernet or Wi-Fi gets it online. USB gives the setup utility a way in. Hardware remains stubbornly literal.
Some ZD411 configurations include Wi-Fi and some do not. A printer under a point-of-sale station or at a front desk may be perfectly happy on Ethernet. The important part is knowing what you bought before you get halfway through enrollment.
Make the staging record
In Workspace ONE, I open Printers and IoT Staging and create a staging record. One record can be used by printers that share the same enrollment criteria, so this is not necessarily a one-record-per-printer job.
In the recording, I walk through the fields that actually decide where this thing lands: user, device name or lookup values, and Organization Group. Asset number and tags can wait. The Organization Group cannot. Choose the wrong one and the printer arrives in the wrong neighborhood.
The provisioning step uses MQTT as the management type. The recording shows an on-device choice and a wireless choice. This episode stays on the wired, on-device path.
Once I save the record, Workspace ONE lets me view or download the provisioning file. In this demo it is a text file. That little file carries the enrollment choices from the console to the printer.
Hand the file to the printer
The video calls the Windows software Zebra Setup Utilities. Zebra now presents the tooling as Zebra Nucleus Connector, including a Windows version with printer drivers. The name changed after I recorded the demo, which is why you will see both names here.
Use Zebra's current driver and installation guidance for the exact printer and computer. A seven-minute video is not going to improve on the vendor's driver documentation.
With the utility and driver installed, and the printer connected over USB, the printer should appear in the utility. Select Open Communication With Printer, choose the provisioning file from Workspace ONE, and then choose Send To Printer.
Then my demo does the very human thing and stops one step short. I removed sensitive values from the file used on camera, which meant I could not complete the final send. I describe the expected result, but the video does not prove it. Use an unredacted file in a supported environment and verify that the printer actually appears before treating this as deployment guidance.
The console defines the enrollment. The file carries it. Zebra's utility handles the last direct handoff. And yes, the cables still matter because hardware remains stubbornly committed to being hardware.
Next we remove the computer cord.
Skip around
Chapters
The words, without pressing play
Transcript
Reviewed against the recording, with punctuation and formatting added for readability. The claims and caveats are unchanged.
[00:07] Hey everybody, welcome back to Episode 5. We have a cool one today. We are going to look at how to manage these printers, and briefly at the things my daughter makes me print before we get back to the less glamorous printers in the demo. I am standing beside my router for a reason, and we will get to that in a moment.
[00:36] I want to start with the back of this Zebra ZD411 desktop printer. We have talked about mobile and semi-mobile printing. This unit requires a power cord, for the self-explanatory reason that it needs power to operate.
[01:03] The next connection is Ethernet. Some printer configurations include Wi-Fi and do not need a wired network connection. Other configurations do not include Wi-Fi, so Ethernet supplies their network path.
[01:32] That hardware choice affects where a printer can live. A printer attached to a point-of-sale station or sitting at a front desk may not move much anyway. Even so, it matters during enrollment because the printer needs both power and network connectivity.
[02:08] I am using Zebra ZD411 printers in this demo. These compact desktop printers can appear in workflows such as healthcare and pharmacy labeling, but the exact hardware and connectivity options depend on the model and configuration purchased.
[02:41] For the wired enrollment shown here, we need three things: power, a network connection through Ethernet or configured Wi-Fi, and a direct USB connection between the printer and a computer.
[03:18] The computer does not need to be a specialized device. I am using a Windows computer with Zebra Setup Utilities. That direct connection lets the utility communicate with the printer and deliver the provisioning file created in Workspace ONE.
[03:40] To recap the hardware side: connect power; provide Ethernet if this printer does not already have a Wi-Fi network path; and connect the printer directly to the computer over USB. Wi-Fi can be configured on printers that expose that option, including through the printer interface or an appropriate setup utility.
[04:14] Now we move to the Workspace ONE side of the demonstration. In the interface shown, open Printers and IoT Staging and add a staging record. One record can be used for printers that share the same enrollment criteria; it is not necessarily limited to one physical printer.
[04:38] The wizard includes required and optional fields. It can use an existing user or create a user, apply a device name or lookup values, select the destination Organization Group, and optionally include an asset number and tags. The Organization Group is important because it controls where the printers are placed in the console.
[05:00] The provisioning step shown uses MQTT as the management type. The interface in this recording presents two enrollment choices: an on-device connection and a wireless connection. Episode 5 focuses on the on-device path; the wireless path is covered next.
[05:24] Review the summary and save the staging record. The console then lets you view or download the provisioning file. In this demo, downloading it creates a text file that we will send to the printer.
[05:49] On the Windows computer, download and install the current Zebra Setup Utilities version appropriate for the printer and operating system. Follow Zebra's current driver and installation guidance for the exact model.
[06:04] With the utility and required driver installed and the printer connected to the computer, the printer should appear in Zebra Setup Utilities. The utility can configure many printer settings and connectivity options, although those settings are not the focus of this enrollment demonstration.
[06:45] Select Open Communication With Printer, choose the provisioning file downloaded from Workspace ONE, and then choose Send To Printer. Sensitive values were removed from the file used on camera, so I could not complete the final send. The expected result described in the demo is that the printer returns a status and appears in the Workspace ONE console. Confirm that complete path with an unredacted file in a supported environment before treating this as deployment documentation.

Have a thought?
Comments
Agree, disagree, or tell me what I missed. I read comments before they appear here.
Loading comments…